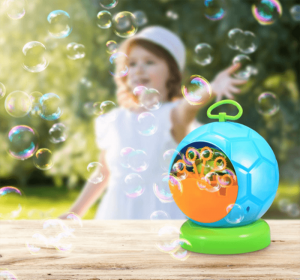
Do you remember as a child how you use to blow bubbles? That sounds very [...]
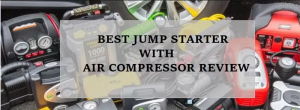
Picture a situation in which you take your significant other on a romantic driveway. You [...]
Are you looking for the best broom? Heylovedesigns have top best broom product for you [...]
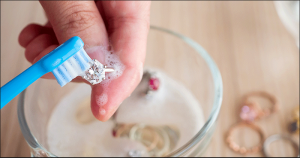
Then you are aware of how important it’s to keep them shiny and clean. By [...]
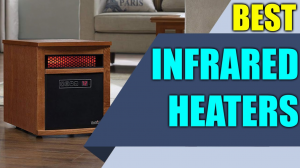
The heater is precisely what you need if you’re trying to find an effective and [...]
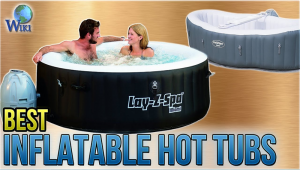
If you have dreamed of owning your very own spa that is mobile, then you [...]
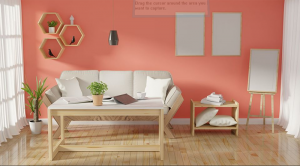
Redecorating can breathe a completely new lease of life in any area, turning drained old [...]
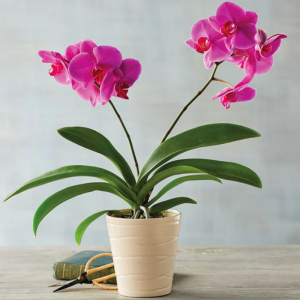
The best indoor flowers are creations that mother nature provides. As elements of attractiveness civilizations [...]
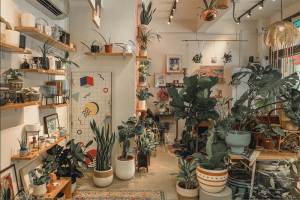
Plants are creations that mother nature provides. As elements of attractiveness civilizations on the planet [...]
Are you looking for the best bosch dishwasher? Heylovedesigns have top best bosch dishwasher products [...]